Showing posts with label Frame. Show all posts

Monday, August 5, 2013

Core-dinations & Imaginisce Week-long Blog Hop!


Happy Monday! If you are here from the fabulous Debbie Standard's blog, you are in the right place because Imaginisce and Core'dinations are teaming up all this week for a fun and crafty blog hop!

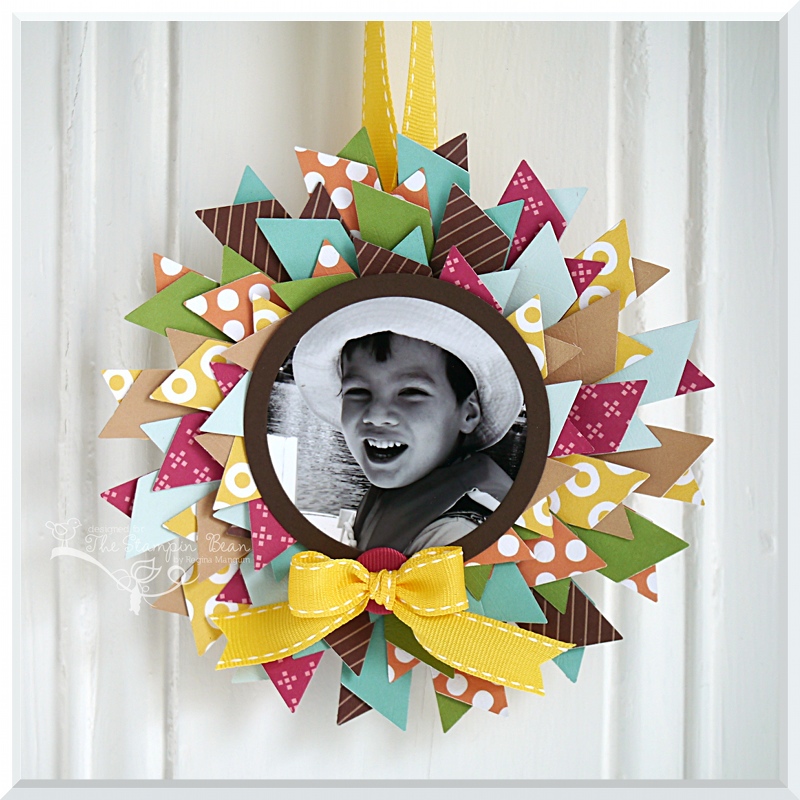
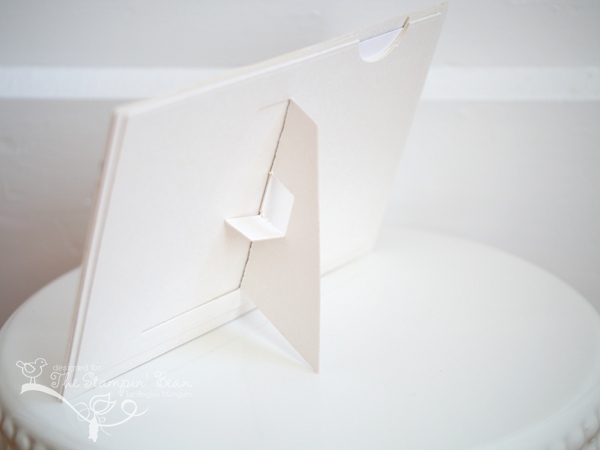
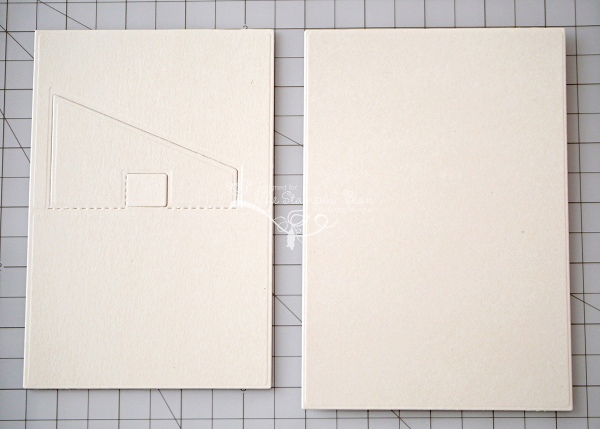
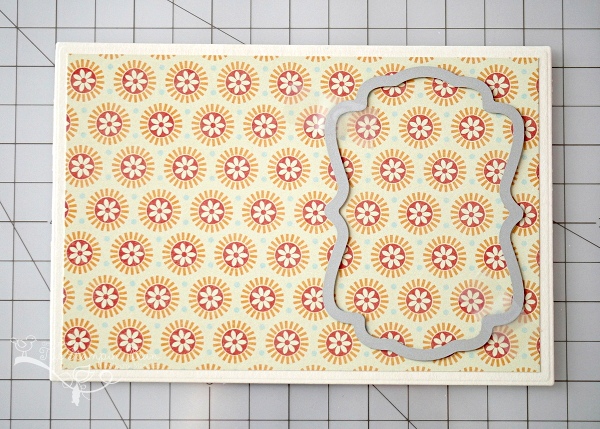
For my hop project, I really wanted to create something using a photo of the rugrat from his first trip to a planetarium. We got a great shot of him looking for Jupiter though a giant telescope and I decided that, instead of a traditional layout, I would make a frame that he could keep in his room.


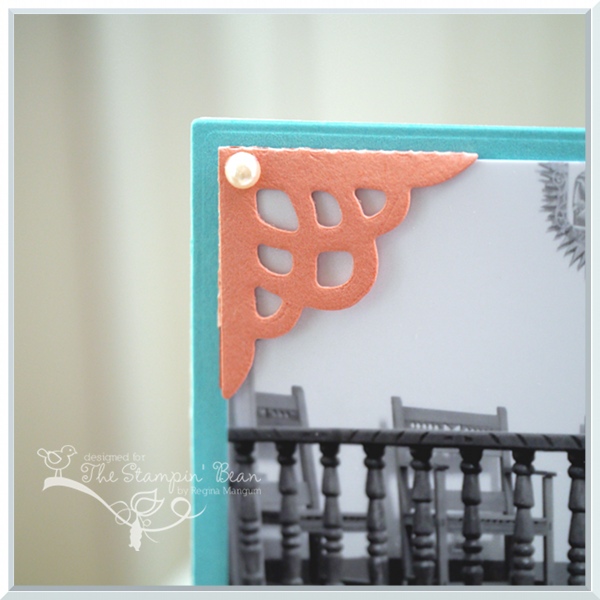
I used one of the awesome stickers from the Outdoor Adventures collection from Imaginisce and paired it with the absolutely darling Spotted Core'dinations embossed cardstock. After sanding the embossed dots with the cool sanding tool, I was left with a terrific textured background paper that was perfect for my dual frame. I also die-cut some stars from the cardstock to go along with my project, which added more visual interest. 


BEAN NOTES
(patterned paper, sticker from Outdoor Adventures collection) Imaginisce; (embossed card stock ) Core'dinations; (kraft card stock) Stampin' Up!; (star dies) Taylored Expressions; (frame digital cut file) Lori Whitlock

And you can't have a blog hoppy party without an awesome prize, can you? Here's what Imaginisce and Core'dinations are giving away: Imaginisce: Tool Kit and POGO adhesive and Core'dinations: Glitter Silk collection, Black Magic collection and Sand It Gadget! Visit the Imaginisce blog for details!


Now, off you go to my wonderful teammate, Guiseppa's, blog for more inspiration. If you get off track, you can always head for the Imaginisce or Core'dinations blogs, too!


Core' Team:

Imaginisce Team:


Friday, June 22, 2012

Corner It...


Welcome to my last day with the new release from Lifestyle Crafts! Today I have a special photo frame to share with you using more of the Corner It Kit dies and a new 4 x 4 Alpha die. Plus, I get to share an excluding 20% off coupon with you for the Lifestyle Crafts store. Read on for details...


My brother-in-law and his new bride recently got married in Santa Fe, New Mexico in the country's oldest mission. It was so much fun to get to travel back to the Southwest, this time with the rugrat in tow since he was a ring bearer in the ceremony! I decided to make a pretty frame in the bride's wedding colors with this sweet photo of the little ones who were in the party.


I loved how pretty the corners turned out. 
I simply added a few pearls to glam them up a bit. 


The new Lollipop 4 x 4 Alpha die is one of new favorite alphabets. I spray misted some cardstock before running it through with the alpha die and created these cool letters to add to my photo.


I also used the Card & Photo Easel die to create my frame backing and stand. For stability, I used some thin craft board, which cut beautifully with the die.

BEAN NOTES
Cardstock: Cameo Coral, Tempting Turquoise, Very Vanilla (Stampin' Up!)
Accents: Pearls (Kaisercraft); Cameo Mister Huey (Studio Calico)
Specialty Paper: Craft-a-Board (Ellen Hutson)

I hope my brother-in-law and his new wife like this little memento of their special day and I hope I've inspired you to create something to remind you or a loved one of a special moment!
If you go shopping in the Lifestyle Crafts online store, be sure to get 20% off by entering the PROMO CODE: BEAN during checkout!


Tuesday, June 19, 2012

Tabs Are For More Than Just Organizing...


We've been enjoying some lovely, sunny weather here in the Bay Area and I was in the mood to create something to reflect my happy mood. Luckily, the June Release at Lifestyle Crafts helped me make exactly what I was hoping for! 
Plus, as an Affiliate, I get to share an exclusive coupon code for 20% off in the Lifestyle Crafts store! Read on for details...

I got to play with a really cool set of dies, the Tab It Kit collection. These dies are really fun and, if you have an electronic die-cutting machine, they include a digital file that allows you to use them electronically. 

For today's project, I actually did it the old-fashioned way, but if you have an electronic die-cutter, you'd definitely make this Wreath Frame lickity split!


A close-up of the frame reveals the cool double-sided tabs that I die-cut from double-sided patterned paper.

For quick cutting, trim strips of patterned paper to fit prior to sending through your machine.
Once folded along the perforation, both patterns are visible.
Simply flip the paper over to create two different patterned tabs.

I cut strips from 4 sheets of patterned paper, 3 per side (a total of 48 tabs). I then adhered the tabs onto a cardstock circle base, beginning with the outer ring--each ring uses 16 tabs--and worked my way inward, tightening the spaces between tabs as I moved from ring to ring.
BEAN NOTES
Patterned Paper: City Park Collection (American Crafts)
Cardstock: Coffee (American Crafts)
Fibers: Yellow Stitched Grosgrain (Pebbles)
Accents: Fabric Brad (American Crafts)
Dies: Nesting Rings, Tab It Kit (Lifestyle Crafts)

I hope you enjoyed my sunshiny project today! Tune in tomorrow for another LC project that I hope will inspire you to get creative.

Remember, if you decide to do a little shopping in the Lifestyle Crafts store, be sure to enter PROMO CODE: BEAN to receive 20% off your order!

Monday, April 2, 2012

Amazing Friends...Taylored Expressions Sneak Peek Day 1!

April Release At a Glance
  • We have sneak peeks to share Monday through Wednesday.  All of the new products will be available for purchase on Thursday, April 5th at 8 am PST. You'll find it all in the Fresh out of the Oven Department at the Taylored Expressions Store. 
  • Join us as a fan on Facebook for an early peek at the stamp sets, as well as a SPECIAL Facebook GIVEAWAY, on Wednesday night beginning at approximately 6 pm PST.
  • Mystery Baker's Dozen Blog Giveaway: Each day, one lucky blog commenter will be chosen by random draw to win a $10 TE Gift Certificate.  Winners will be chosen from a different Baker's Dozen blog each day and will be announced on Taylor's blog on Release Day!  Be sure to hop around to see all the sneak peeks and leave comments on each and every blog for more chances to win. Limit one comment per blog per day, please.  Comments for the drawings close Wednesday 4/4 at 7pm PST.

Can you believe it's April?! Time is flying fast, but at least it means we have another week of Release Week sneak peeks for Taylored Expressions! Today, I have two projects to share, one featuring the new set, Make it Amazing and the second a fabulously fun set from the delightful and darling brain of my teammate, Wanda Guess!


First up, I have a pretty wall hanging that I created with Make it Amazing from the Whimsical Wishes line, a really lovely set that I paired with this month's Project Pantry, which features papers from the London Market patterned paper collection from Pink Paislee.
This shadowbox was die-cut with my electronic die-cutting machine on the cardstock from the kit. I filled each frame with papers from the kit, stamped, and embellished before assembling.


There are coordinating dies for Make it Amazing, including for the butterflies, the pretty frame around the lovely sentiment, and the twiggy branch! I also stamped some of the beautiful silhouette images in cream ink on the darker patterned paper.


I am so in love with the colors from this kit and the images from Make it Amazing are simply wonderful. 


Next, I have a set of bright and happy tags, inspired by and created with the new set from the Embracing Grace line of stamps, Fruity Friends, conceptualized by my friend, Wanda Guess. How cute are these little friends?


I simply hand-trimmed these with a paper trimmer and stamped each fruit, paper-piecing to make them super-cute. The sweet sentiments are just darling (if you knew Wanda, you wouldn't be surprised!) and I finished off with some happy ribbon.

BEAN NOTES
Make it Amazing Dream Wall Hanging
Stamps: Make it Amazing (Illustrated by Nancy McKinney for Taylored Expressions)
Patterned Paper, Ribbon, Cardstock: from London Market Project Pantry (Taylored Expressions)
Ink: Memento Rich Cocoa (Tsukineko); Baja Breeze (Stampin' Up!) 
Tools: Creative Station (Xyron)
Specialty Ink: Very Vanilla Craft Ink
Dies: Twiggy Branch, Elegant Butterflies, Frame It Up 3 (Taylored Expressions)
Templates: Shadowbox 8 x 10 (Lori Whitlock for Silhouette)


Fruity Friends Tags
Stamps: Fruity Friends (Illustrated by Emily Burger for Taylored Expressions)
Cardstock: Choice Snow (Taylored Expressions); Peach Parfait, Real Red, Kiwi Kiss, Wild Wasabi (Stampin' Up!)
Ink: Memento Tuxedo Black (Tsukineko)
Tools: Tiny Attacher (Tim Holtz)
Fibers: Twill Ribbon (Stampin' Up!)
Accents: Tiny Attacher Staples (Tim Holtz)

Now I hope you enjoyed my projects today. For more sneak peeks, please visit the rest of the Baker's Dozen and enjoy your Monday!


Friday, March 9, 2012

Calendar Boy...

With interchangeable photos and a tear-off calendar, this is a gift that will be useful throughout the year.
Thank goodness it's Friday! I have had a crazy week with a sick rugrat and sleepless nights of worry, but now he's all better and I have some wonderful news to share. I have been a huge fan of Lifestyle Crafts (formerly known as QuicKutz) and I was so thrilled to be invited to become an Affiliate of this fabulous company. The best part is that all my readers get to benefit by receiving an exclusive 20% off coupon off purchased made in the LC store!

Enter the code: BEAN for your exclusive savings!
It is going to be such a pleasure sharing with you some projects created with Lifestyle Crafts products, and I wanted to begin with this interchangeable photo calendar that was inspired by the Taylored Expressions Calendar Challenge. I was so in love with this project that I thought I would create a mini tutorial for anyone interested in making one:

A sturdy, precisely cut easel-back makes this perfect for display.
It folds flat, which would make it easy to mail.

I began by die-cutting the pieces to assemble my photo calendar stand from the very cool Card & Photo Easel Die. To make this extra sturdy, I used Craft-A-Board, which is a thin cardboard that runs through die-cutting machines using wafer-thin dies with ease.

You will want to cut two of the panel on the right in order to create the interchangeable photo frame.
After covering one panel with patterned paper, die-cut a frame using the included frame (BEAN TIP: use removable tape to secure your die in your desired spot.) 
Punch or die-cut a circle on the second panel. After trimming a photo to your desired shape, secure the two panels together using Scor-tape. Be sure to leave the top of the "pocket" free of glue/adhesive.
Photos can be easily interchanged with the formed "pocket" between the two panels. Adhere the easel back piece after you have finished decorating your front panel.


Print out as many photos as you would like, trimming to fit the pocket. For my project, I also added a fun Mini Tear-Off Calendar from Taylored Expressions. The Card & Photo Easel Die is so versatile that I think I'll be able to create a ton of other display and gift items, such as single- or multiple-photo frames, table toppers, and memo holders. 


I hope you enjoyed my first "tutorial" -- I hope to do more in the future. I'm so pleased to be able to offer a discount for readers of TSB. 
Don't forget to visit the Lifestyle Crafts store and enter the code: BEAN at checkout for 20% off!

Have a Happy Bean Day!

BEAN NOTES
Patterned Paper: Blink of an Eye (My Mind's Eye)
Cardstock: Baby Blue Medium (Bazzill)
Specialty Paper: Craft-A-Board (Ellen Hutson)
Fibers: Ribbon (Stampin' Up!); Embroidery Floss (generic)
Calendar Product: Mini Tear-Off Calendar (TE)
Accents: Button (October Afternoon)