Showing posts with label Christmas. Show all posts

Wednesday, December 13, 2017

All Tucked In For Christmas!


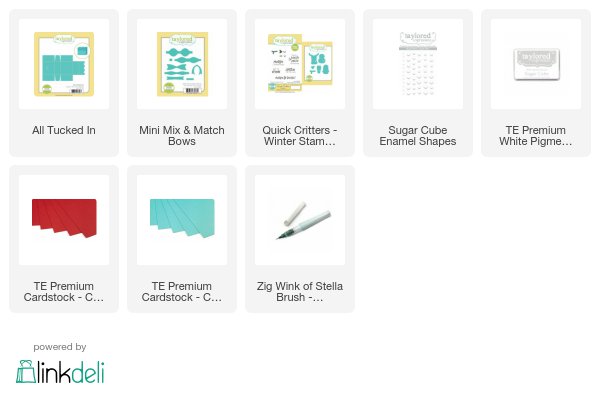
Hey there, crafty Christmas friends! I am just popping in with a fun little project I created for my office Christmas Party. I created these fun little treat boxes using the new All Tucked In die from Taylored Expressions and I love how they turned out!

I die-cut each box out of bright, Cherry Pop cardstock, which was easy peasy. I love the little scalloped detail on the front of each box! I added a little Enamel Shape -- it looks like a button and is just too cute. Before assembling, I added some metallic striped wash tape.


I stamped this fun sentiment with Sugar Cube ink. I could have used embossing powder to have a really bright impression, but I wanted a 'frosty' look and it dried exactly how I wanted. I added some Wink of Stella in green and Nuvo drops in red to the little holly plant. Super festive!

Next, I assembled each box and I topped each with a Mini Mix & Match Bow in Cookie Monster for a bit of non-traditional color. These darling little boxes are going to be filled with a wee treat -- I can't say what because it's still a surprise!

Hope you have a super happy and merry day!


Monday, October 2, 2017

Dear Santa...Taylored Expressions Sneak Peek!


It's a Merry Monday, crafty friends! Today I get to help Taylored Expressions introduce its holiday and Christmas Release of new products and I'm definitely in a festive mood. I will be sharing two fun card projects today and I hope you enjoy seeing them as much as I have enjoyed making them!

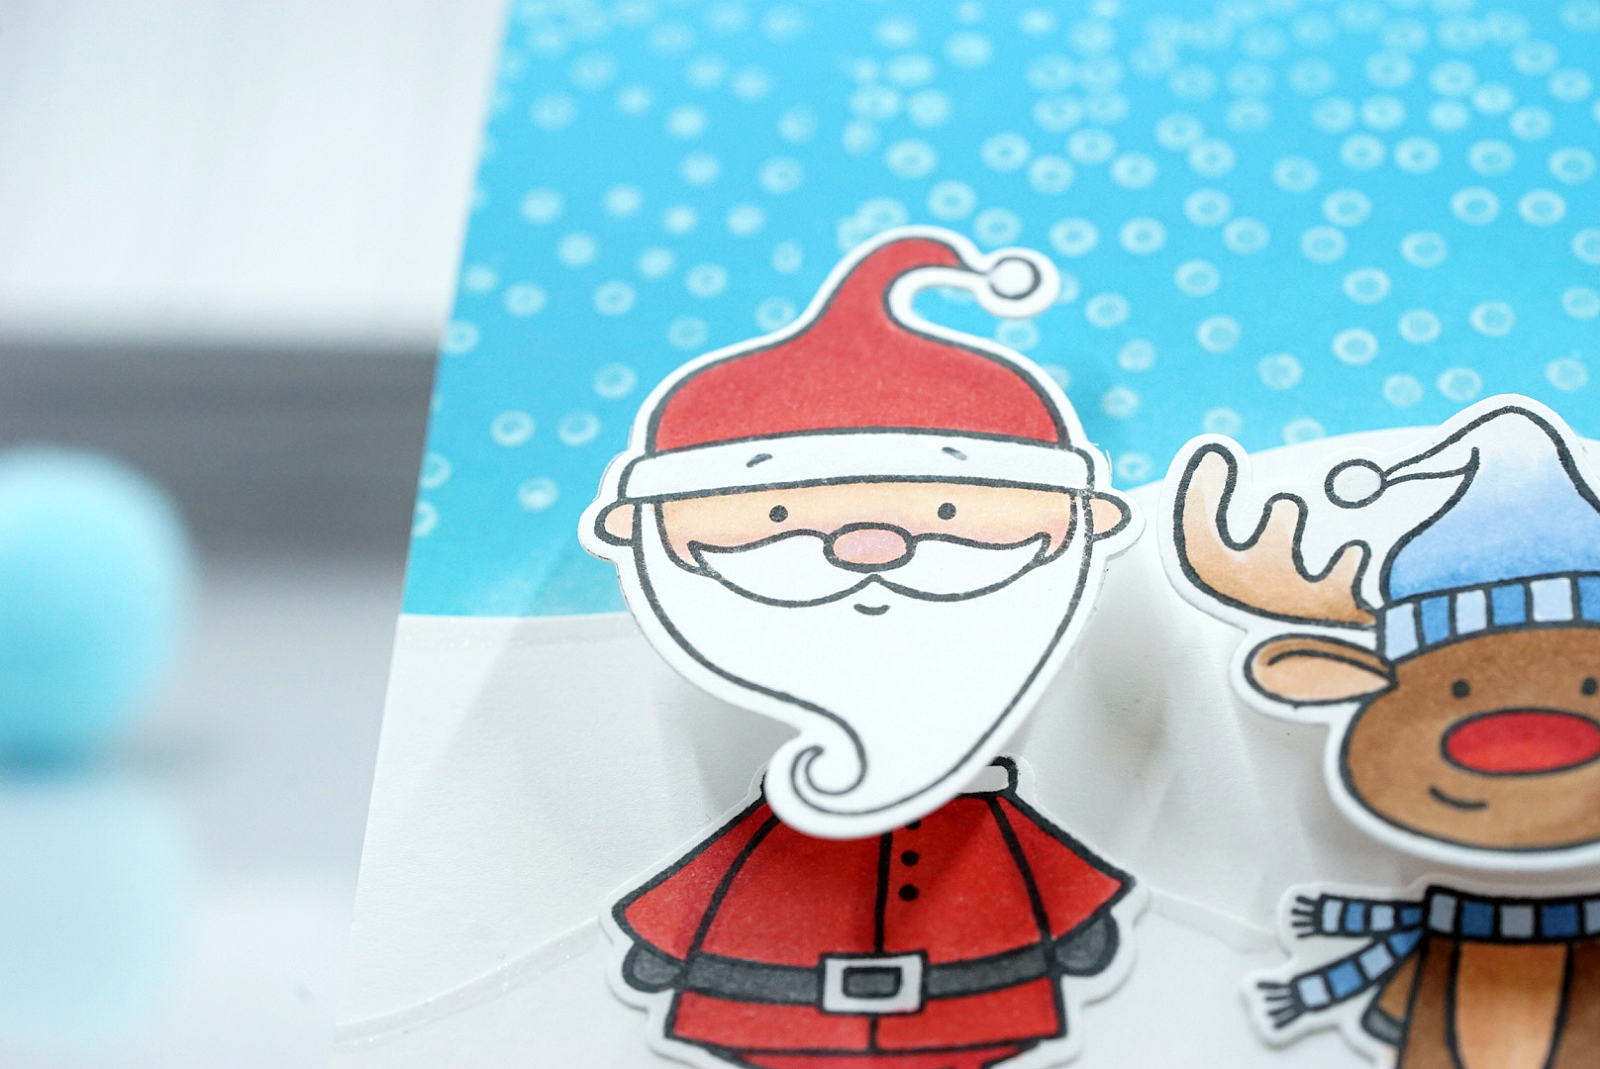
My first card features the soon-to-be-released Santa & Friends and I think it might be my new favorite go-too stamp set for the holidays. It was designed to be used with Mini Wobble springs and it makes some seriously adorable characters.


I colored up the Santa and added the wobble spring -- it makes the head into a bobble head! 


When I saw the included sentiment, I had a mischievous idea. I stamped just the bottom of the cute reindeer and turned him upside down in the Build a Scene Rolling Hills snow mounds that I die cut from Sugar Cube cardstock. I also stamped and colored a full reindeer, coloring his nose like Rudolph. (Maybe Rudolph was finally getting some revenge for being excluded from those reindeer games?) Wink! Wink!


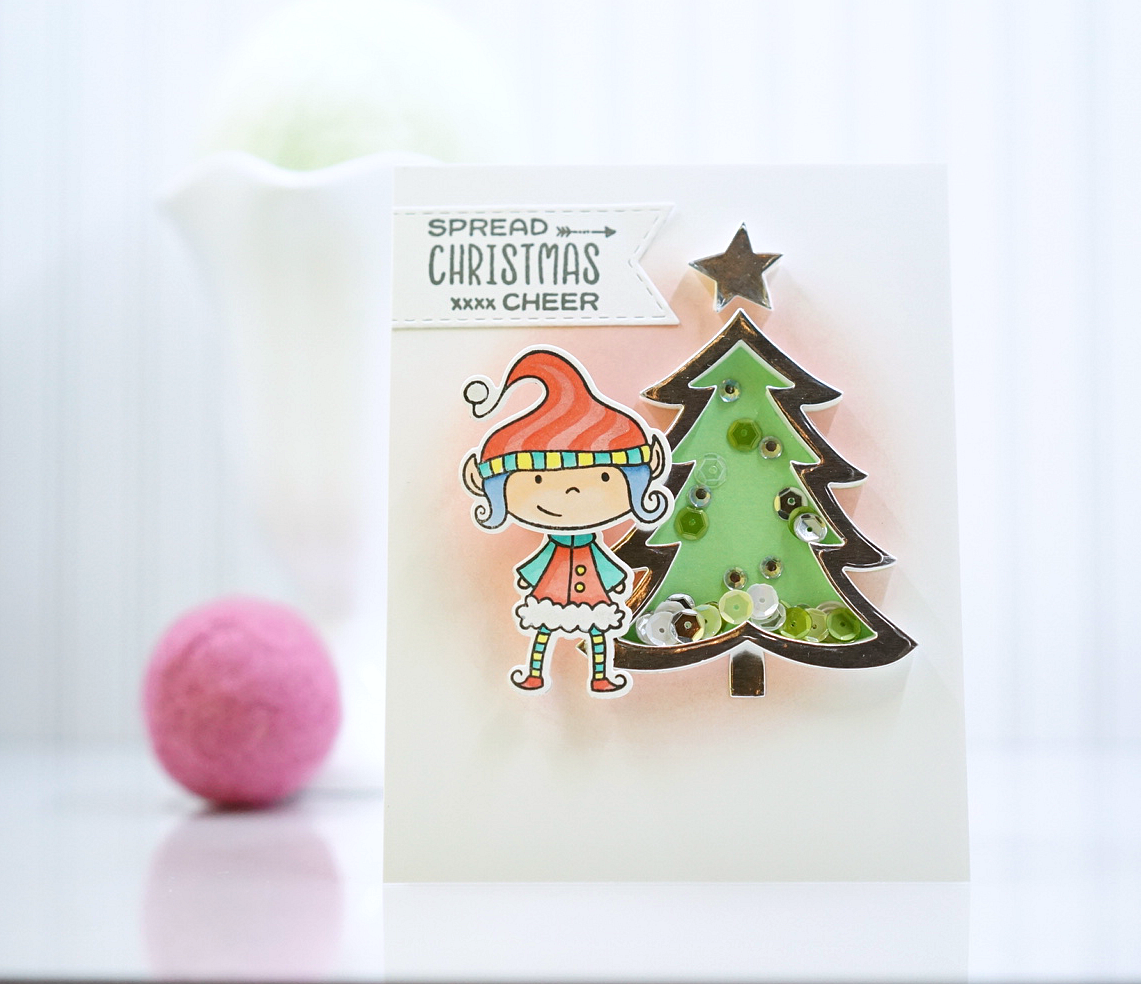
My second card also uses the Santa & Friends set, but this time I colored up the sweet little elf.


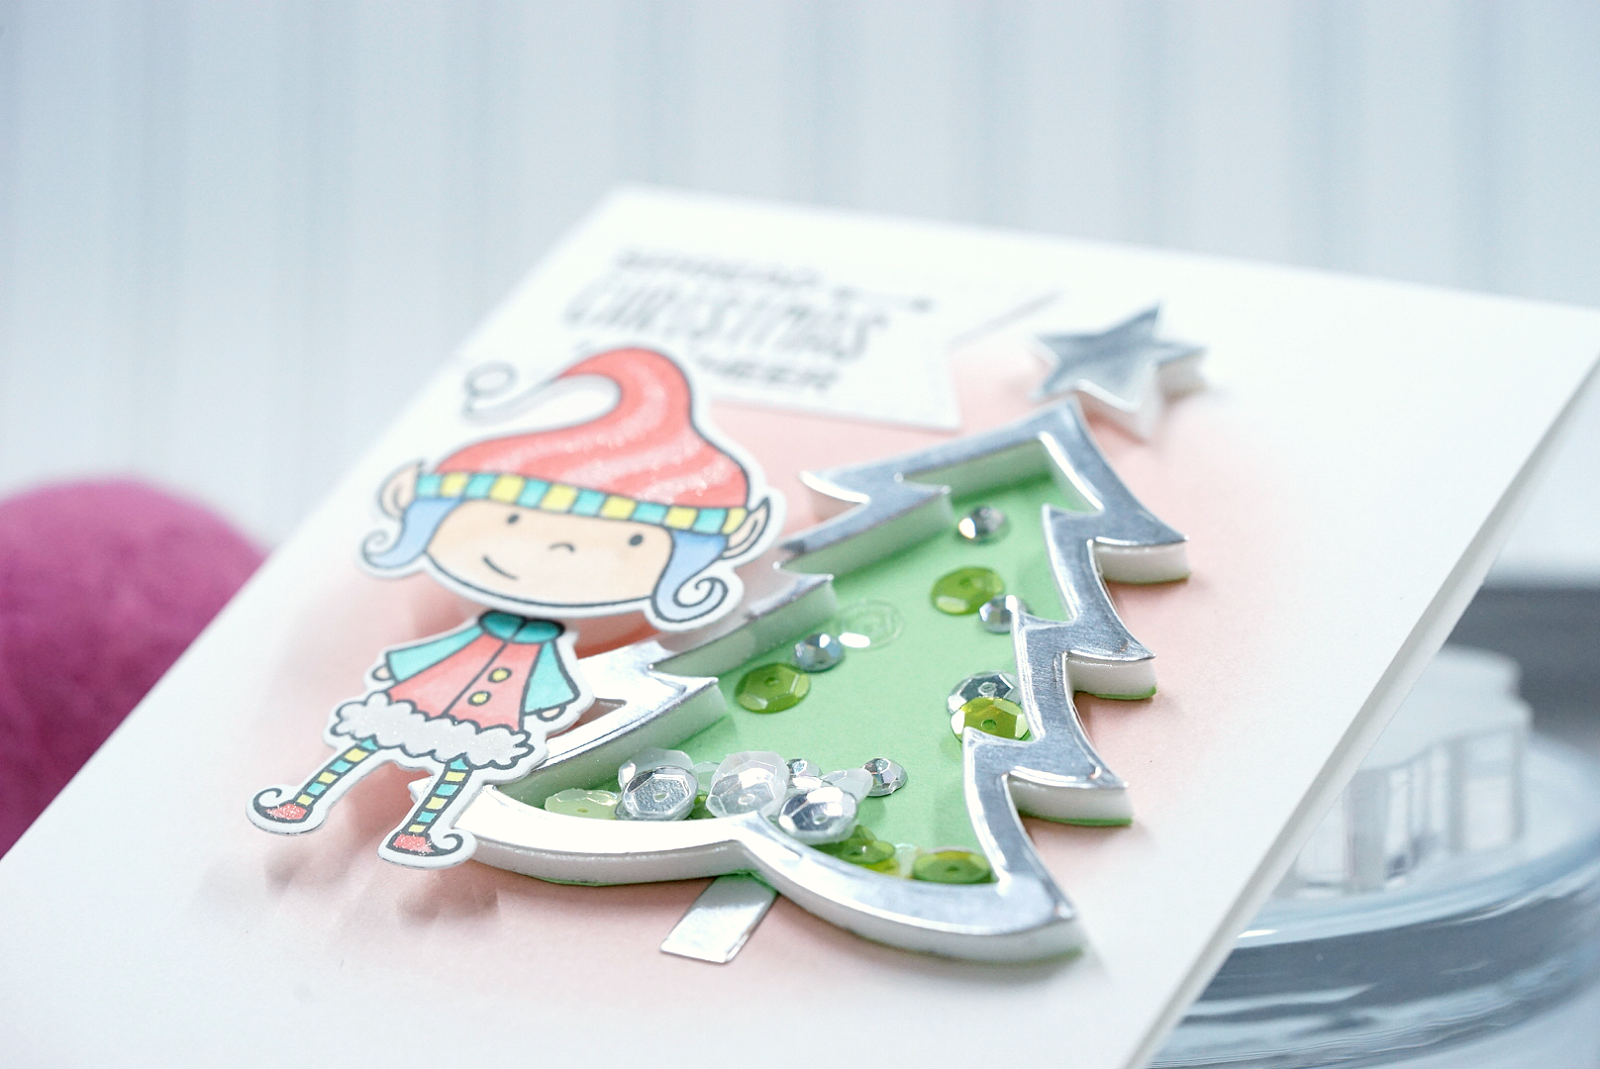
I also used the new, exclusive Christmas Tree Shaker to create this fun shaker. I used the included dies to cut TE Adhesive Sheets and it made creating the shaker so much easier! I filled it up with some sequins and a few crystals for shine. 


I love the shine on this tree, which was die-cut from new TE Silver Foil Sheets. They are stiff like cardstock, so perfect for shakers!


I had a lot of fun coloring up this little elf and couldn't help adding some fun pattern with my Copics and a bit of glitter with a glitter marker.

I hope you will visit the TE Blog for tons of eye candy from their fabulous Creative Team. There is A LOT of newness going on this week and now I can't wait for Christmas!



Thursday, October 6, 2016

You Think Santa Does This All By Himself!? -- Taylored Expressions Release Day!


It's October and I can hardly believe the year is heading toward the holiday season already! I don't mind because I absolutely love Christmas. This week, Taylored Expressions is releasing all it's holiday and Christmas goodness and I got to play along with their talented design team. Today I'm sharing a funny card I made with a few of the new products releasing TODAY!

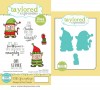
I used the new Elf Grumblings Stamp & Die Combo on this Christmas card. I just love the darling little elf that looks a little punch drunk. I thought he went very well with the hilarious sentiment from the set.


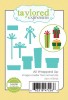
I chose to use some non-traditional colors on this card, which I think can really make a card stand out. I surrounded my grumply elf with a slew of presents die-cut from the new All Wrapped Up die set. I love all the different gifts you can make. I simple die-cut from yardstick and then added some dots, stripes, and sparkle with a Wink of Stella glitter pen.


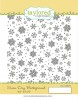
This fun string of lights was created by die-cutting with the new Skinny Mini Holiday Borders and then I added some cool Nuvo Crystal Drops. They are much easier to control than other dimensional drops and I love them. See that stitched oval panel? Thats from the new Stitched Oval Stacklets! You can create stitched frames, too, with this nifty die set. The background snowflakes were stamped with the new Snow Day Background -- it's cool because it covers the whole card!


I hope the elves survive Christmas this year! I colored mine with Copics and then added more subtle sparkle with the Wink of Stella pen. Be sure to visit the TE Blog for more eye-candy from the whole design team and to check out other new products. Ho! Ho! Ho!


Thursday, November 5, 2015

Critter Time!


It's Release Day at Taylored Expressions! I got to play along with my friends on their fab design team and I have two cards to share with you today. The first uses the really wonderful new Mini Colorblock Cutting Plate. I love all the little window frames this fun die creates.


I stamped this darling little reindeer from the new Calendar Critters stamp set. This set is so fun because you can use it to create really cute mini calendars or use them on their own like I did today. I colored in this little guy with Copics and placed him inside one of the cutting plate frames. 


The sentiment is from the new Sealed With Love stamp set. It fit perfectly! I added a snowflake sequin for a sweet detail. 


TE now has matching envelopes for some of its premium yardstick and also really cute Envelope Seals that pair perfectly with Sealed With Love.


My second card uses Calendar Critters again, this time with the new Build a Scene Calendar die set. This die set is my new favorite from this collection. It fits perfectly on the 3x4 Calendars (see this blog post for a fab example) or you can use it to create little windows of happiness like I did on this CAS card.


You may have noticed that this eyes on this little puppy are a bit different from those on the reindeer. This is because I took a gel pen to ink in the nose and eyes. So, with just a little ink, one image becomes two...super useful! I watercolored a background and added the darling fence, sun, and frame from the die set. The sentiment is also from Sealed With Love.

I hope you enjoyed my projects today! Visit the TE Blog for more inspiration.