Hey there, crafty friends! Today I am wishing my dear friends and former colleagues at Taylored Expressions a very happy 10th birthday. I am so delighted to help them celebrate. As you may know, TE was a very big part of my life right up until I moved across the country just a few short months ago. I was a part of their crafty journey for seven amazing years and Taylor herself was one of the first crafters to notice my work and she and her husband, Jon, welcomed me into the TE family. I am so happy to see the company flourishing and continuing to share joy each and every day.

For today's celebration blog hop, I created a fun card using one of my fave stamp & die combo sets, Llama Love. I grabbed my Copics and started coloring in the darling llama, using tight, circular motions to mimic a wooly appearance.

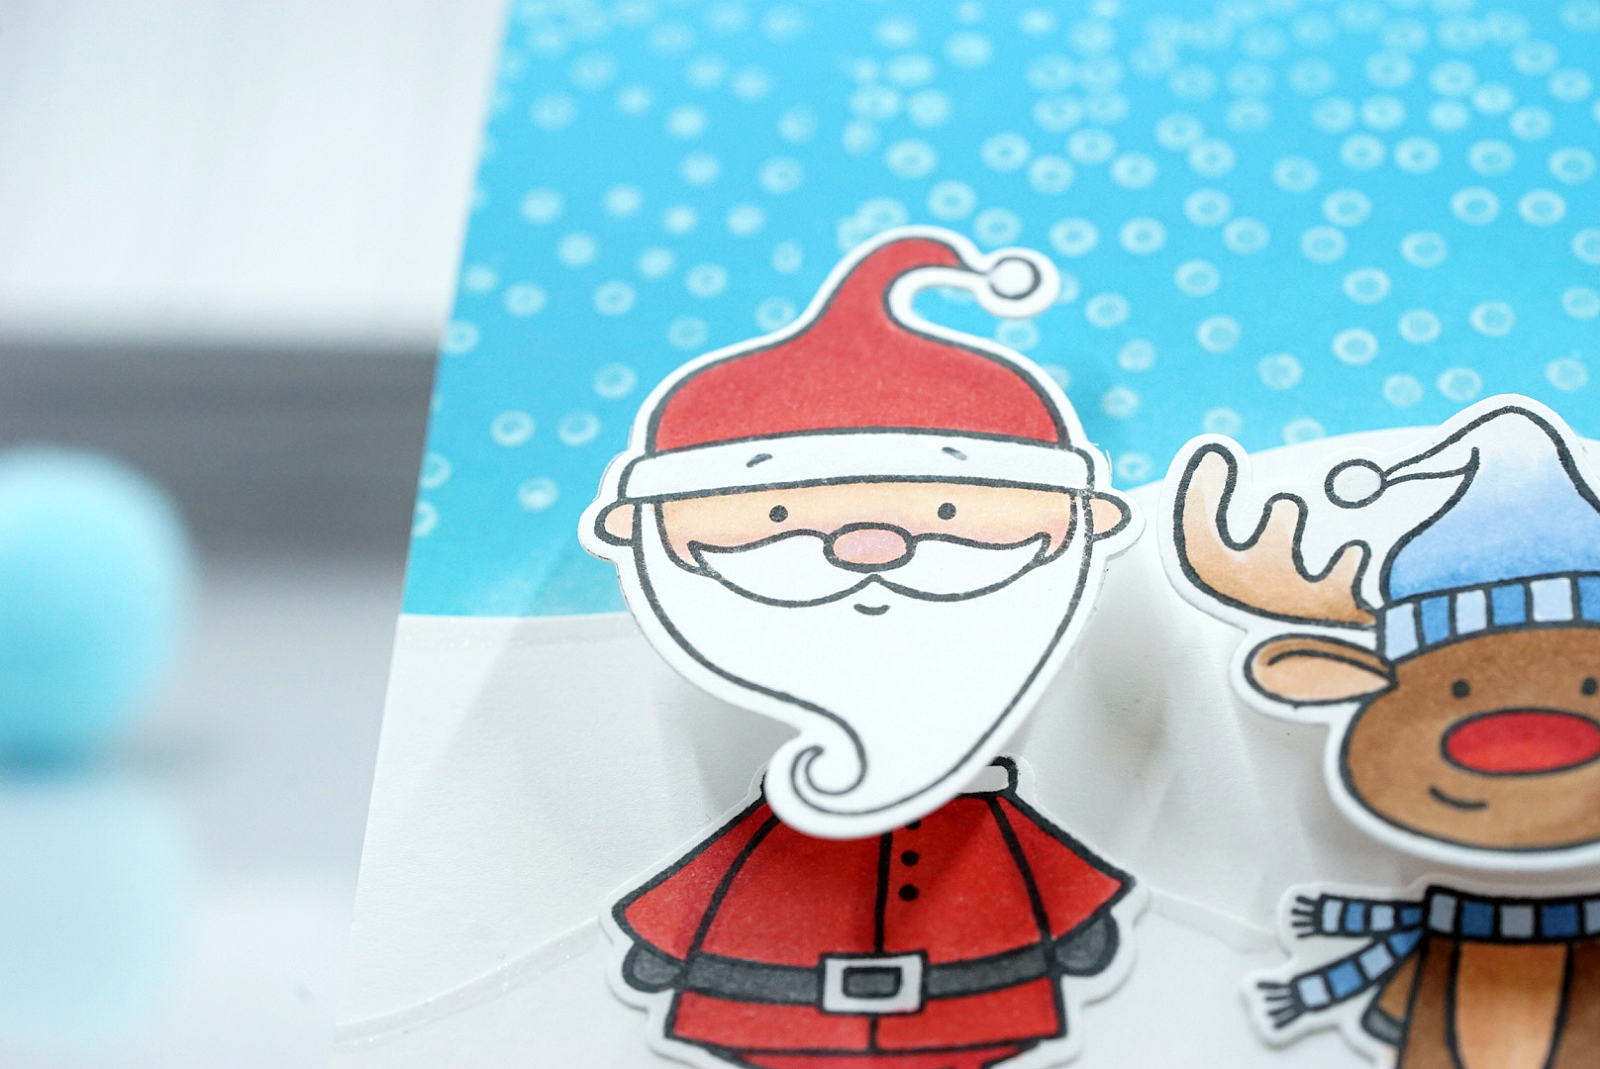
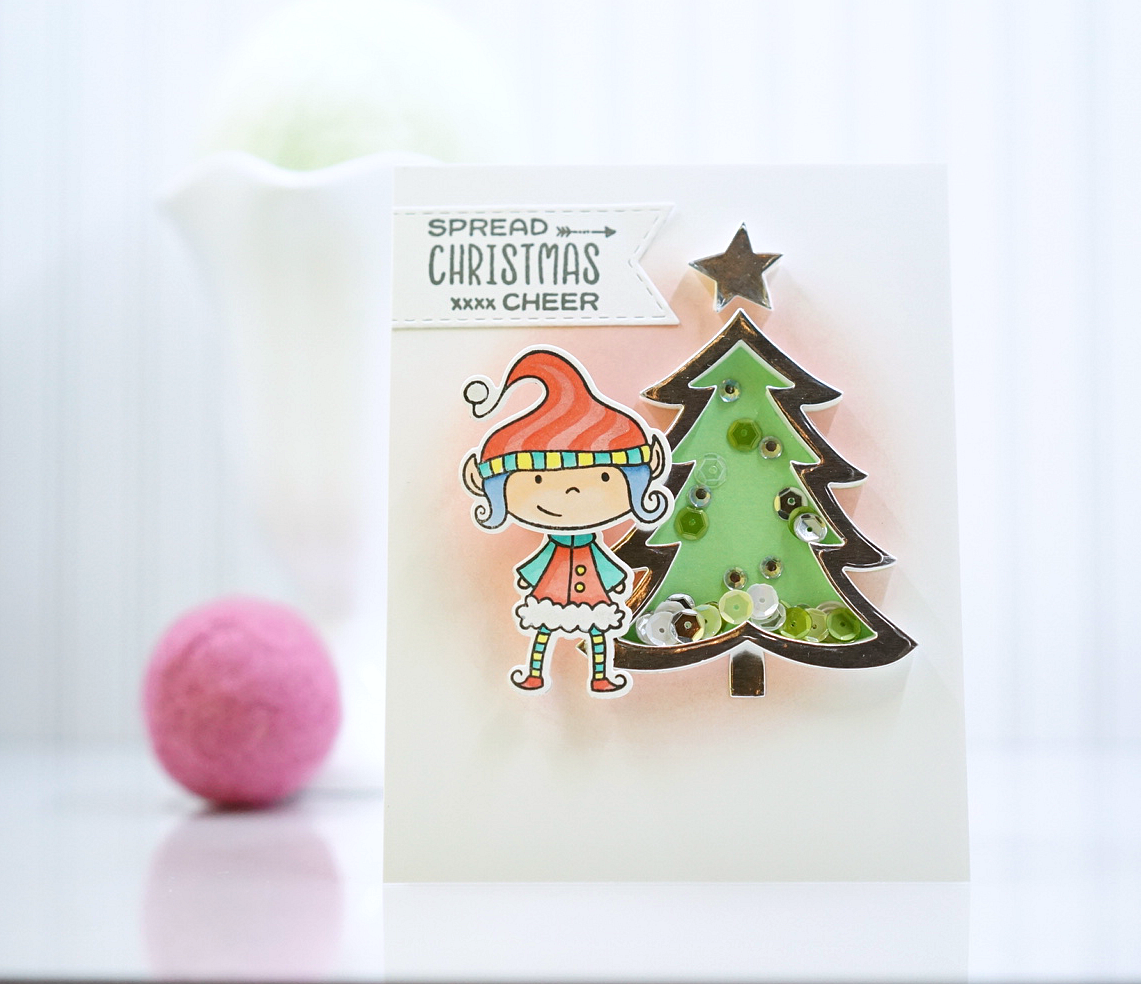
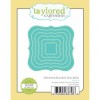
I decided to have this happy guy peek through some stitched Peek-a-Boo Squares windows. I also used the very useful Cloudy Days Embossing Folder and the old standby Build a Scene Rolling Hills to create my background.

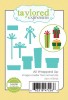
I love this set because it reminds me of the trip I took with my husband many years ago to Peru, where we hiked the Inca Trail. Of course, llamas and alpacas are close cousins, so I was so excited to see the funny sentiment that I used on this card. And what birthday is complete without some happy balloons? I cut these using TE's Number Balloons dies and tied them off with some colorful baker's twine. (A stack of brightly-colored presents stops things off!)

Be sure to visit the TE Blog today to get more party inspiration -- with nearly 40 past and present designers participating, it's going to be EPIC! Also, TE really likes to party and has released a ton of new products in the Store, which you can check out HERE.
But before you do, I wanted to make sure you know about TE's Share Joy Campaign. It is something near and dear to my heart as I had the honor of helping craft the original concept of this amazing card campaign when it first began. It's really what TE is all about. Please check it out!
At the heart of Taylored Expressions is a mission to share joy through the gift of handmade cards. As part of their 10th birthday TE is continuing that mission with the launch of a special Share Joy campaign focused on providing birthday cards to those in nursing homes and assisted-living facilities across the U.S. To make as deep an impact as possible TE is inviting card makers everywhere to join the campaign. Will you join us? Find out how to participate by viewing their Share Joy page here: https://www.tayloredexpressions.com/share-joy-birthday-2018